Page History
...
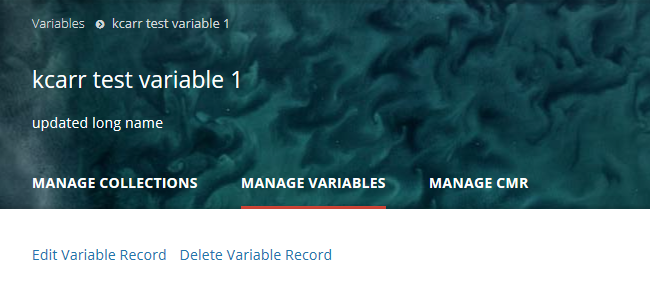
1. Find the variable record using the instructions above (Find and View Variables in the CMR), and click on the Name of the variable to view the variable record page.
2. At the top of the collection the variable record page, click on 'Edit Variable Record'

3. A new draft of this record will be created in the MMT database. The MMT will display the progress panel (and html representation) for the draft record.


44. On the progress panel, click on any section to begin editing the draft record. Use the progress panel and navigation buttons described above (Create a collection a variable record in the CMR for my provider) to update the metadata in the draft record.
5. When you have finished editing the draft record, publish it to the CMR by clicking on the 'Publish Variable Draft' button above the progress panel. This will create a new revision of the collection the variable record in the CMR. The CMR stores up to 10 revisions of each collection each variable record. When an 11th revision is created, the first revision is deleted, and so on. Each revision of a collection a variable record has the same concept id as the original collection original variable record.


Delete a variable record in the CMR for my provider
1. Find the collection the variable record using the instructions above (Find and View Collections Variables in the CMR), and click on the Short Name of the collection the variable to view the collection the variable record page.
2. At the top of the collection the variable record page, click on 'Delete Variable Record'
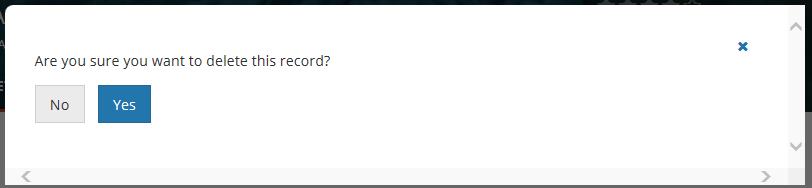
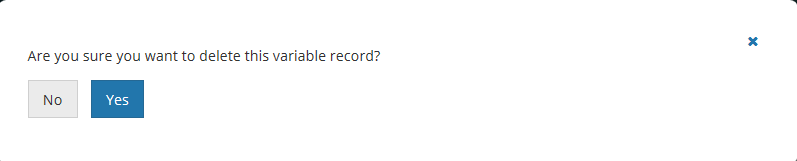
3. You will see a pop-up message asking you to confirm the variable record deletion.
4. Click on Yes to delete the variable record. The MMT will then display a 'Collection Variable Deleted Successfully!' message, as well as the revision history for the deleted record.
The CMR will create a final revision for the deleted record, which is called a tombstone.

5. NOTE that you can immediately restore the deleted record from one of the revisions on this Revision History table, but once you have moved to a new page on the MMT, you will no longer be able to find the deleted record to restore it.
If you restore the record from this table, you will see a new revision history, showing the deletion as one of the revisions:
Revert to a previous revision of a collection record in the CMR for my provider
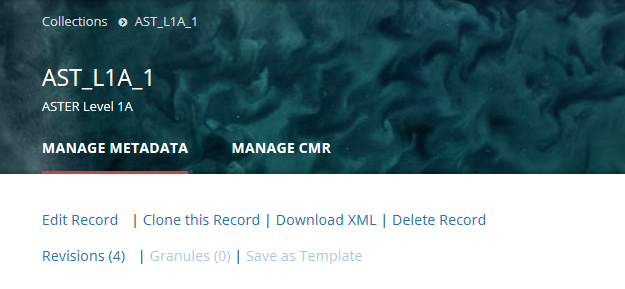
1. Find the collection record using the instructions above (Find and View Collections in the CMR), and click on the Short Name of the collection to view the collection record page.
2. At the top of the collection record page, click on 'Revisions (<number of revisions>)'

3. A table of the (up to) 10 most recent revisions of the collection record will be displayed.
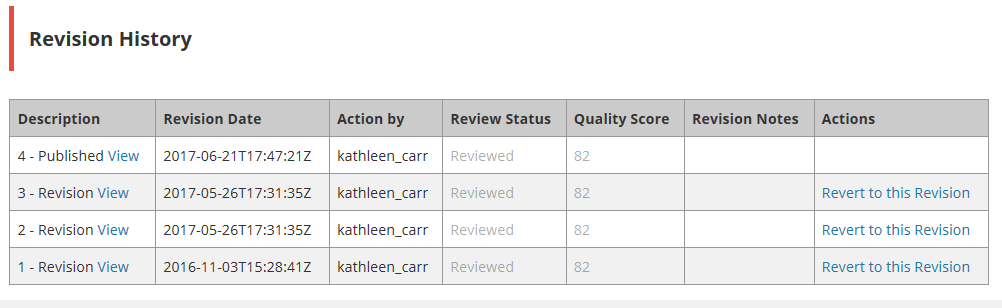
4. You may View previous revisions of the record by clicking on the 'View' link next to the Revision Description. After you determine which revision you want to revert to, click on 'Revert to this Revision' in the Actions column for that revision.
You will see a pop-up message asking you to confirm the action:
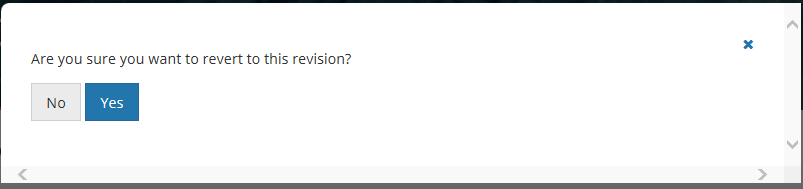
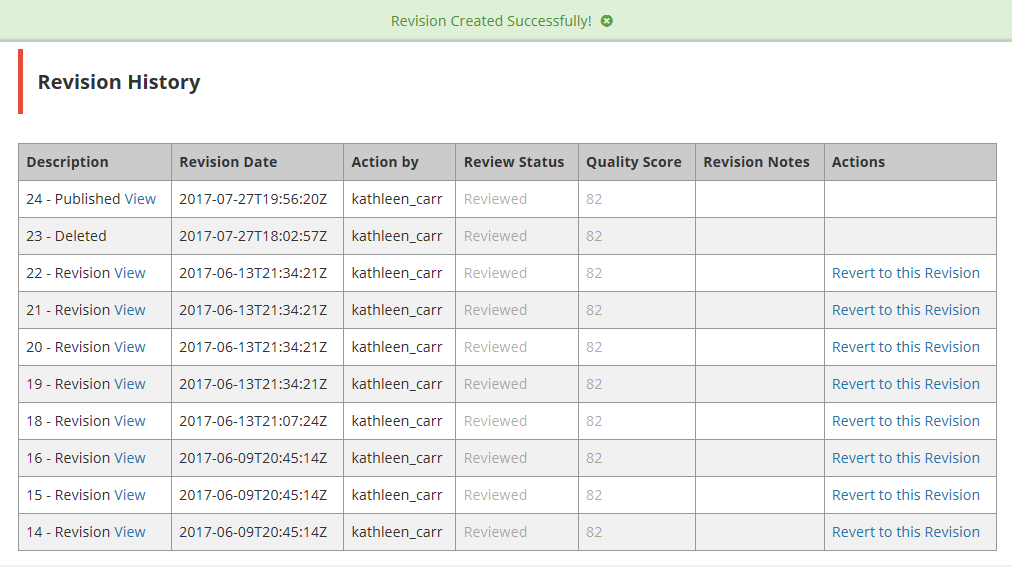
5. Click on Yes to revert to the selected previous revision of the record. The MMT will then display a 'Revision Created Successfully!' message, as well as the new revision history for the record.
If there were n revisions before you reverted to a previous revision, there will now be n+1 revisions, and the n+1st revision will be identical to the previous revision that you selected to revert to.

.

Associate a Variable with one or more Collections for my provider
...
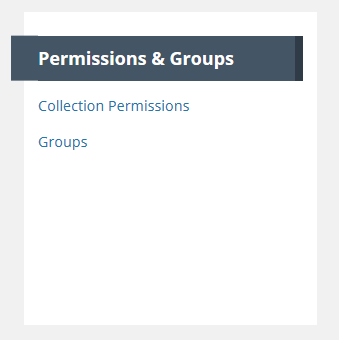
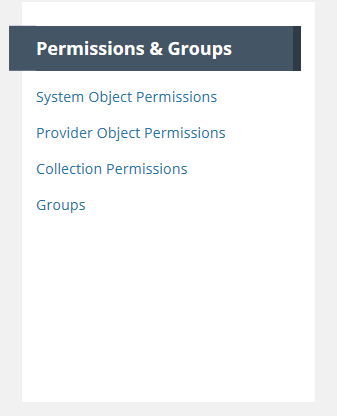
- On the 'Manage CMR' dashboard, under 'Permissions & Groups', click on 'Groups'
At the top of the Group page, click on 'Create a Group'
...
- On the 'Manage CMR' dashboard, under 'Permissions & Groups', click on 'Groups'
2. A table of groups that you are permitted to see will be displayed. You may filter that table by Provider
...
- On the 'Manage CMR' dashboard, under 'Permissions & Groups', click on 'Groups'
2. A table of groups that you are permitted to see will be displayed. You may filter that table by Provider
...
- On the 'Manage CMR' dashboard, under 'Permissions & Groups', click on 'Groups'
2. A table of groups that you are permitted to see will be displayed. You may filter that table by Provider
...
- On the 'Manage CMR' dashboard, under 'Permissions & Groups', click on 'Collection Permissions'
2. On the Collection Permissions page, click on 'Create a Permission'.
...
- On the 'Manage CMR' dashboard, under 'Permissions & Groups', click on 'Collection Permissions'
2. On the list of Collection Permissions for your provider, choose the Collection Permission you wish to update by clicking on the Edit Action in the row for the permission, or by clicking on the permission name, and then clicking the Edit button on the display page for the permission.
...
- On the 'Manage CMR' dashboard, under 'Permissions & Groups', click on 'Provider Object Permissions'
2. A table showing all Groups for your provider will be displayed:
...
- On the 'Manage CMR' dashboard, under 'Permissions & Groups', click on 'System Object Permissions'
Manage Ordering for my provider
...
Overview
Content Tools