Page History
...
NOTE: When you are working with a draft collection record, all 'Save' and 'Done' operations update the draft record in the MMT database, not in the CMR, i.e., DRAFT records are not stored in the CMR. Your draft collection record will not be ingested into the CMR until you click on the 'Publish Draft' button in step 7 step 8 below.
5. Follow progress of your draft record on the progress panel:
...
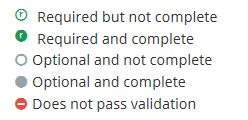
The icons on the progress panel have the following meanings:
6. View a an HTML rendering of your collection record on the 'preview panel':
...
a. To have the NRT (Near Real Time) badge appear for the collection on the EDSCEarthdata Search Client, set Collection Type = 'Near Real Time' on the Data Information Form.
...
Click on the 'Publish Draft' button above the Progress Panel on the draft record page:
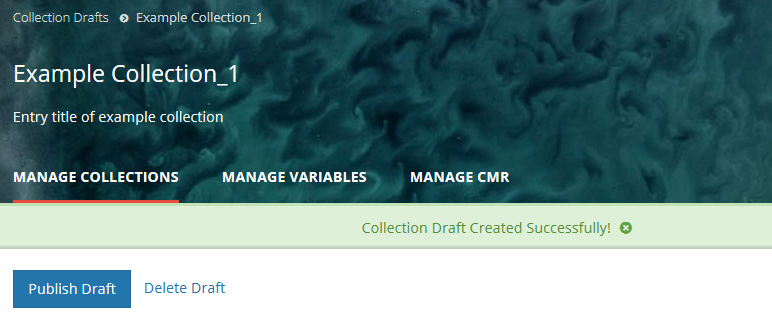
89. You will see then see a green banner indicating that your collection record has been successfully published to the CMR. You will also receive an email stating that your record has been published, and providing the 'concept id' (CMR identifier) for the published record. You may use that concept id to search for your record on the MMT or on the Earthdata Search Client.
Find and
...
view collection records in the CMR
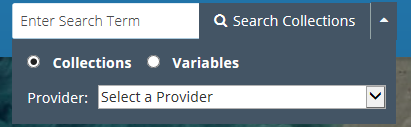
Use the 'Search Variables Collections ' interface in the upper right corner of the MMT banner:
Find records based on a keyword
Enter a search term (e.g., a Variable Short Name, Variable Long NameEntry Title, a CMR concept id, a science keyword) in the white 'Enter Search Term' box, and click on 'Search VariablesCollections'.
A table of CMR variable records CMR collection records which match the search term will be presented (sorted by NameEntry Title).
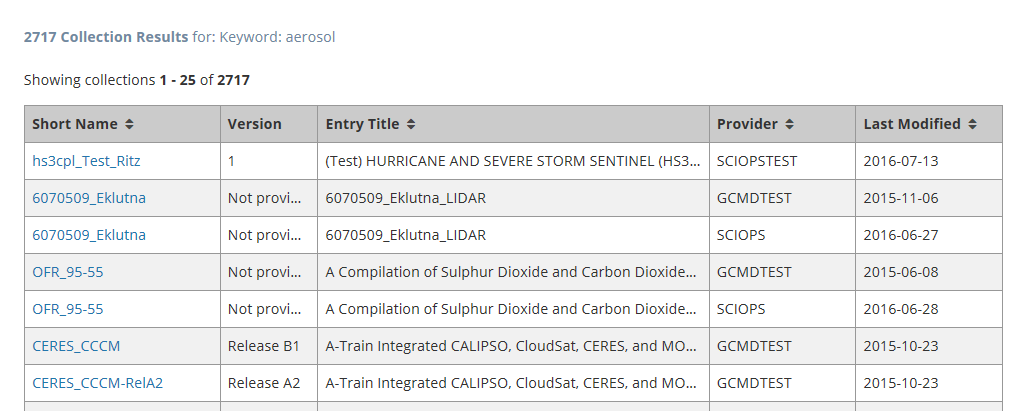

To view an html representation of the metadata for any collection record in the search results table, click on the Short Name of the collection.
...
8. You will see a green banner indicating that your variable record has been successfully published to the CMR. You will also receive an email stating that your record has been published, and providing the 'concept id' (CMR identifier) for the published record. You may use that concept id to search for your record on the MMT.
Find and view variable records in the CMR
...
Find and view variable records in the CMR
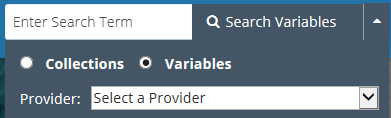
Use the 'Search Variables ' interface in the upper right corner of the MMT banner:
...
To view an html representation of the metadata for any collection any variable record in the search results table, click on the Short Name of the collectionVariable.
Use the Find interface in the upper right corner of the MMT banner:

Find records based on a keyword
...
To view an html representation of the metadata for any collection record in the search results table, click on the Short Name of the collection.
...
Update a variable record in the CMR for my provider
1. Find the collection record using the instructions above (Find and View Collections in the CMR), and click on the Short Name of the collection to view the collection record page.
...
5. When you have finished editing the draft record, publish it to the CMR by clicking on the Publish Draft button above the progress panel. This will create a new revision of the collection record in the CMR. The CMR stores up to 10 revisions of each collection record. When an 11th revision is created, the first revision is deleted, and so on. Each revision of a collection record has the same concept id as the original collection record.

...
Delete a variable record in the CMR
...
for my provider
1. Find the collection record using the instructions above (Find and View Collections in the CMR), and click on the Short Name of the collection to view the collection record page.
2. At the top of the collection record page, click on 'Clone this RecordDelete Record'

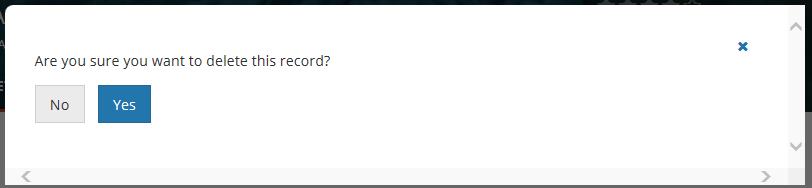
3. You will see a pop-up message asking you to confirm the record deletion.
4. Click on Yes to delete the record A draft of a clone of this record will be created in the MMT database. The MMT will then display the progress panel (and html representation) for the draft record (the clone).
Since collection Short Names must be unique, the clone is initiated with an empty short name. The Entry Title of the clone will be initialized to '<entry title of the original record' - Cloned'. You may edit the record to change this.
NOTE: A prompt to enter a new short name for the clone appears in the blue bar, and the progress panel indicates that the Short Name has not yet been filled in.

4. On the progress panel, click on any section to begin editing the draft record (the clone). You must enter a new Short Name for the clone. Use the progress panel and navigation buttons described above (Create a collection record in the CMR for my provider) to update the metadata in the draft record.
5. When you have finished editing the draft record (the clone), publish it to the CMR by clicking on the Publish Draft button above the progress panel. The clone will be stored as a new collection record in the CMR, with a different concept id from the original record.
Download XML for a collection record in the CMR
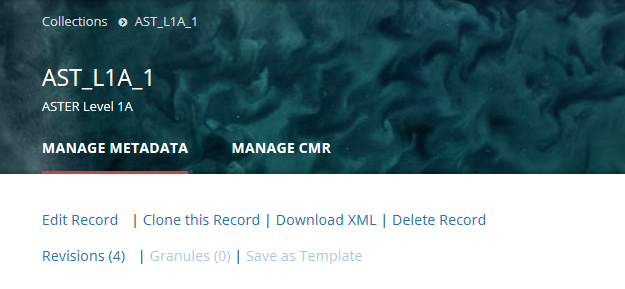
1. Find the collection record using the instructions above (Find and View Collections in the CMR), and click on the Short Name of the collection to view the collection record page.
2. At the top of the collection record page, click on 'Download XML'
3. You will see a pop-up window asking you to choose the format in which you would like to download the collection metadata.
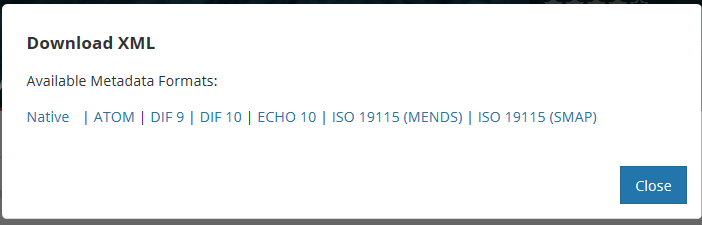
4. Click on the format that you would like. Your browser and local machine will now prompt you through the download process.
Delete a collection record in the CMR for my provider
1. Find the collection record using the instructions above (Find and View Collections in the CMR), and click on the Short Name of the collection to view the collection record page.
2. At the top of the collection record page, click on 'Delete Record'
3. You will see a pop-up message asking you to confirm the record deletion.
4. Click on Yes to delete the record. The MMT will then display a 'Collection Deleted Successfully!' message, as well as the revision history for the deleted record.
a 'Collection Deleted Successfully!' message, as well as the revision history for the deleted record.
The CMR will The CMR will create a final revision for the deleted record, which is called a tombstone.
...
If there were n revisions before you reverted to a previous revision, there will now be n+1 revisions, and the n+1st revision will be identical to the previous revision that you selected to revert to.

Create Provider-Specific Validation Rules for Collection Records
Providers may supplement the CMR validation rules for collection records with their own provider-specific rules.
To do this, create a file with your validation rules, and then submit a pull request to GitHub.
Instructions for doing this are at:
https://github.com/nasa/mmt/blob/master/lib/assets/provider_schemas/README.md
...
to the previous revision that you selected to revert to.
Associate a Variable with one or more Collections for my provider
Find which Collections are associated with a Variable
Produce a Holdings Report for my provider
...
Overview
Content Tools