Page History
...
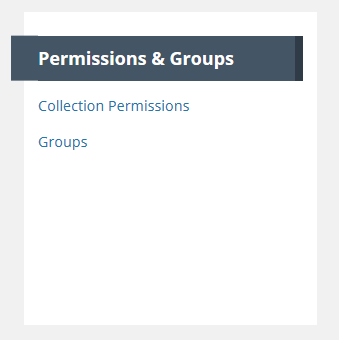
- On the 'Manage CMR' dashboard, under 'Permissions & Groups', click on 'Groups'
At the top of the Group page, click on 'Create a Group'

3. A blank group page will be displayed.
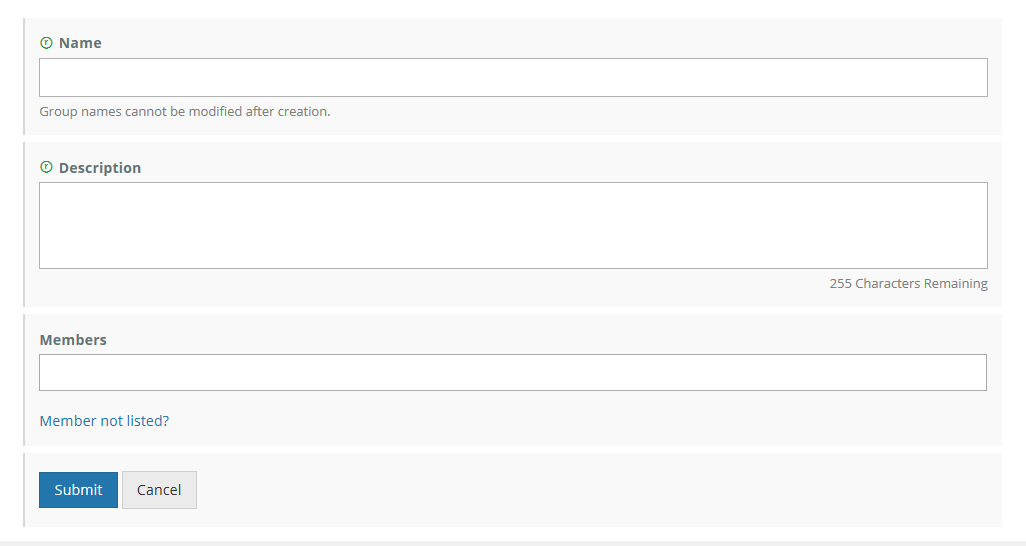
4. Fill in the Group Name (recommended to make the name descriptive of the group purpose) and Description.
45. Add members to the group. Group members must have URS login ids in the environment where the group is being created (SIT, UAT, PROD). To add members to the group, position your cursor in the 'Members' box and begin typing the member's URS login id or URS name.
...
Enter all group members in the 'Members' field, then click on 'Submit' to save your group.
View
...
a User Group
- On the 'Manage CMR' dashboard, under 'Permissions & Groups', click on 'Groups'
...
See the next two sections for instructions on how to Edit or Delete a Group.
...
Edit a User Group
- On the 'Manage CMR' dashboard, under 'Permissions & Groups', click on 'Groups'
...
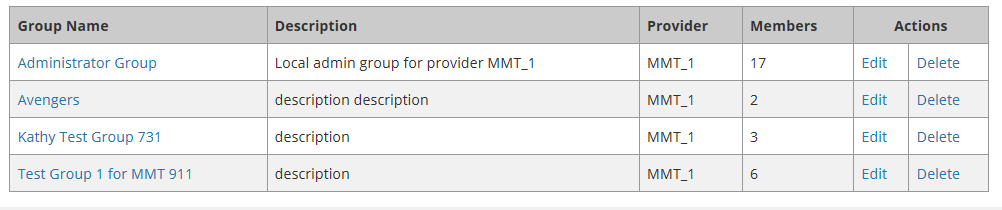
3. From the resulting table of groups, select the group you wish to update by clicking on the 'Edit' Action in the row with the group name, OR you may click on the Group Name itself and use the Edit button on the group display page described in the previous section.
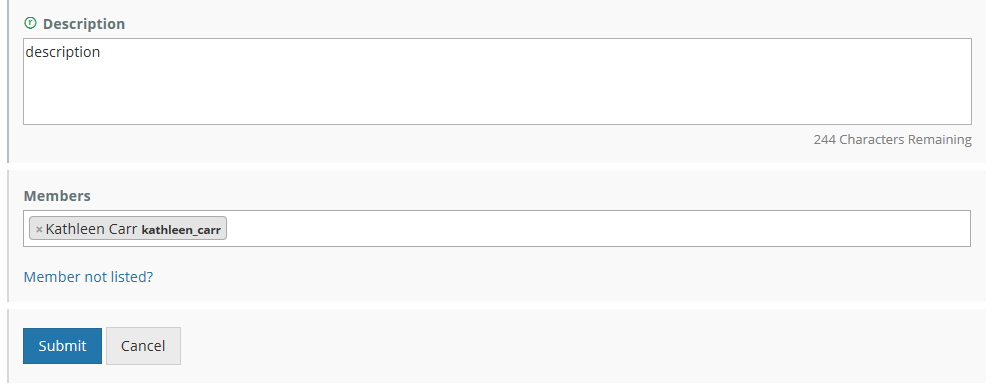
4. The Edit page for the group will be displayed.

Delete a User Group
...
Overview
Content Tools