Page History
...
Recommended set-up for a provider:
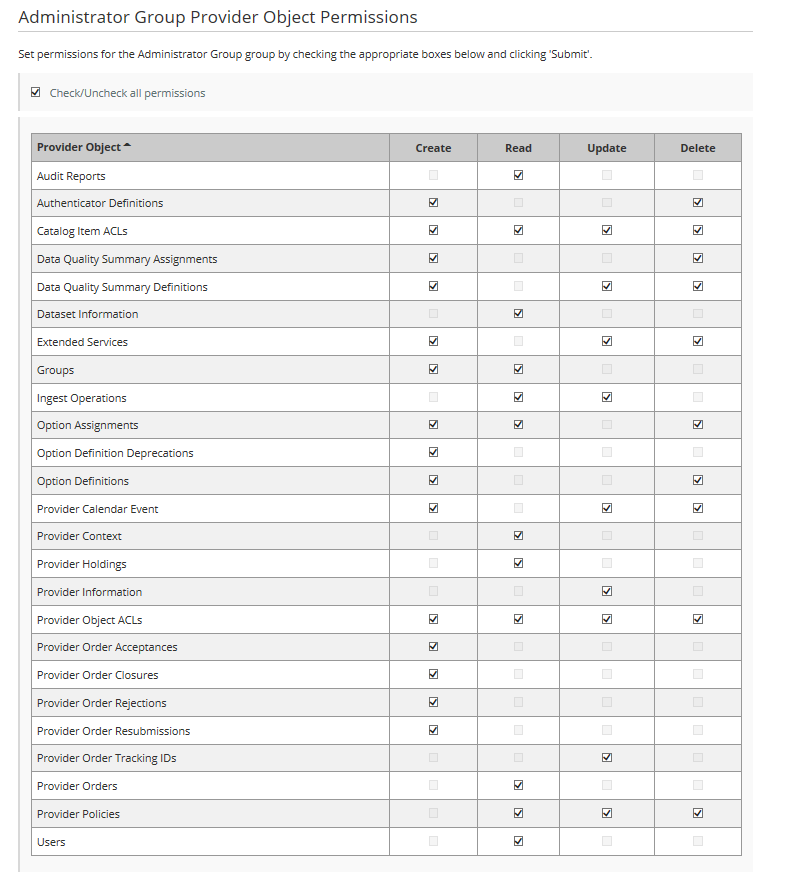
- A group Each provider should have an administrator group, whose members will have full privileges for the provider. Normally this group is called 'Administrator Group' - the . The CMR OPS team will establish this group and its Provider Object Permissions when they set up your provider.
Provider Object Permissions for the Administrator Group are as follows:
2. Each provider may also establish Groups of registered users who will have Search and Order access to sets specified sets of your collections (this access is granted through Collection Permissions, described in the next section of this User's Guide).
(e.g., instrument team group with access to collections from that instrument)
...
Enter all group members in the 'Members' field, then click on 'Submit' to save your group.
...
View the Membership of a User Group
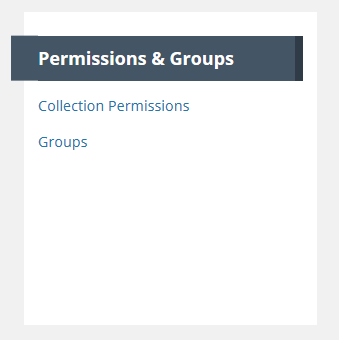
- On the 'Manage CMR' dashboard, under 'Permissions & Groups', click on 'Groups'
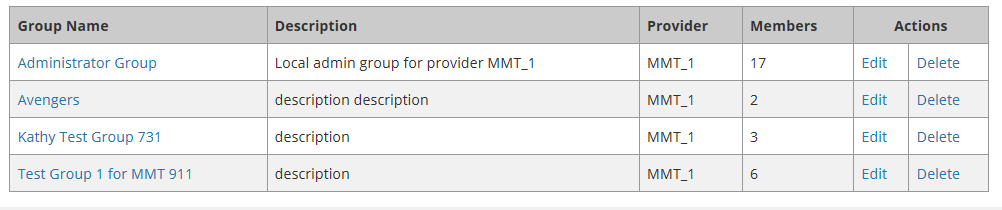
2. A table of groups that you are permitted to see will be displayed. You may filter that table by Provider

or by User (group member)

Click on 'Apply Filters' to filter the table.
3. From the resulting table of groups, select the group you wish to view by clicking on the Group Name for the group.
4. The Group information page will be displayed. The page shows the group name, group description, all Collection Permissions associated with the group (see next section of this User's Guide for a discussion of Collection Permissions), and a table of group members.
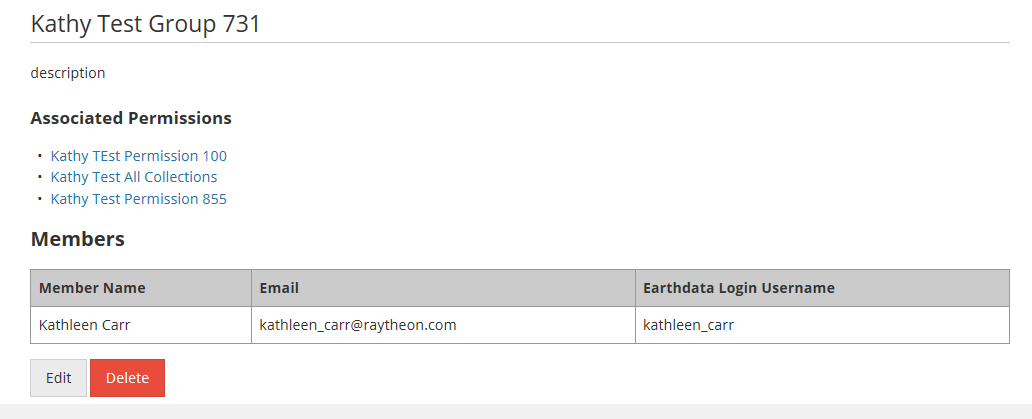
5. You may Edit or Delete the group from the group display page using the Edit or Delete buttons at the bottom of the page,

See the next two sections for instructions on how to Edit or Delete a Group.
Update Membership of a User Group
- On the 'Manage CMR' dashboard, under 'Permissions & Groups', click on 'Groups'
2. A table of groups that you are permitted to see will be displayed. You may filter that table by Provider
or by User (group member)
Click on 'Apply Filters' to filter the table.
3. From the resulting table of groups, select the group you wish to update by clicking on the 'Edit' Action in the row with the group name, OR you may click on the Group Name itself.
Delete a User Group
Manage collection and granule permissions for my provider
...
- On the 'Manage CMR' dashboard, under 'Permissions & Groups', click on 'Collection Permissions'
2. On the Collection Permissions page, click on 'Create a Permission'.
...
Overview
Content Tools