Page History
...
To use the MMT, you must have a CMR metadata provider context. Ensure that, for each of your providers, your Earthdata Login username for the appropriate environment (SIT, UAT, PROD) is a member of a group (normally the Administrator group for the provider) that has both 'Provider Context' and 'Provider Object ACLs' permissions. See Manage 'Provider Object Permissions' for a user group.
If you log in login to the MMT but have no provider context set, you will see the following page:
...
Login to the MMT
Click on 'Earthdata Login with Launchpad', and log in login to the MMT using your Earthdata Login username and password Launchpad credentials for the appropriate environment (SIT, UAT, PROD)
Change Provider
...
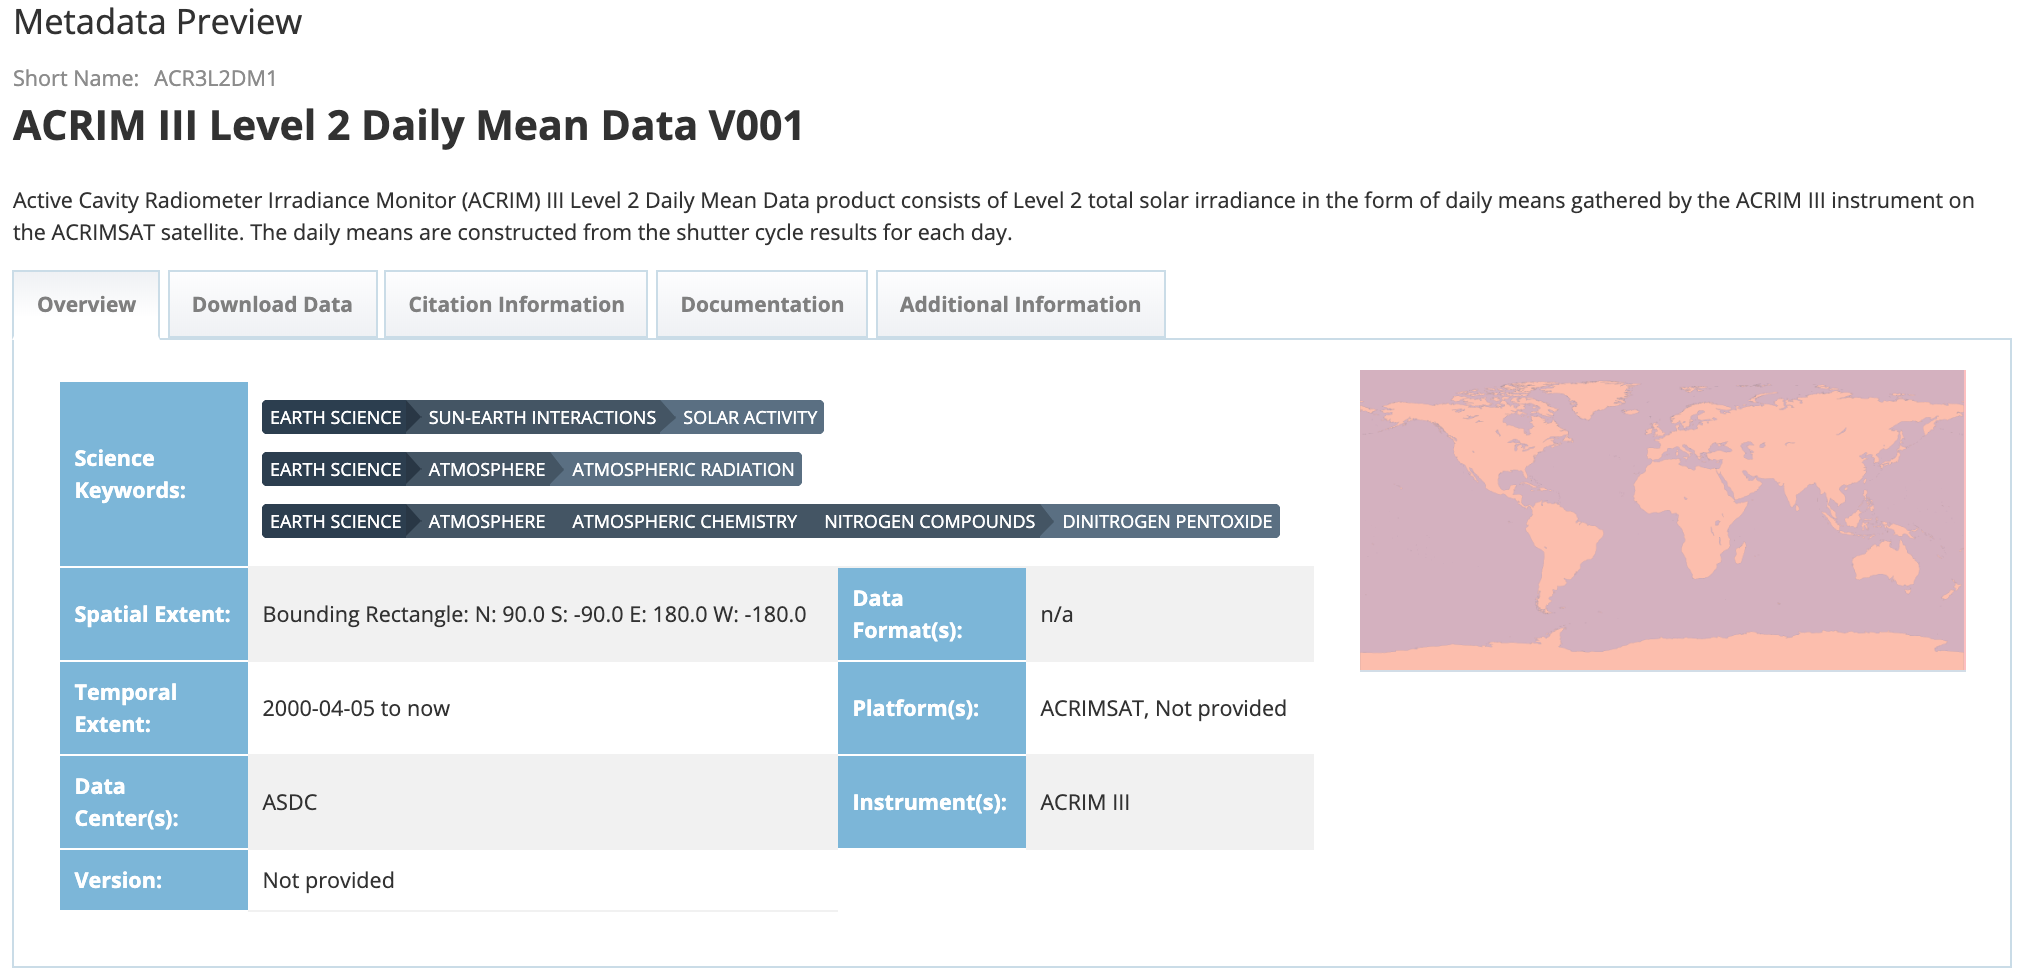
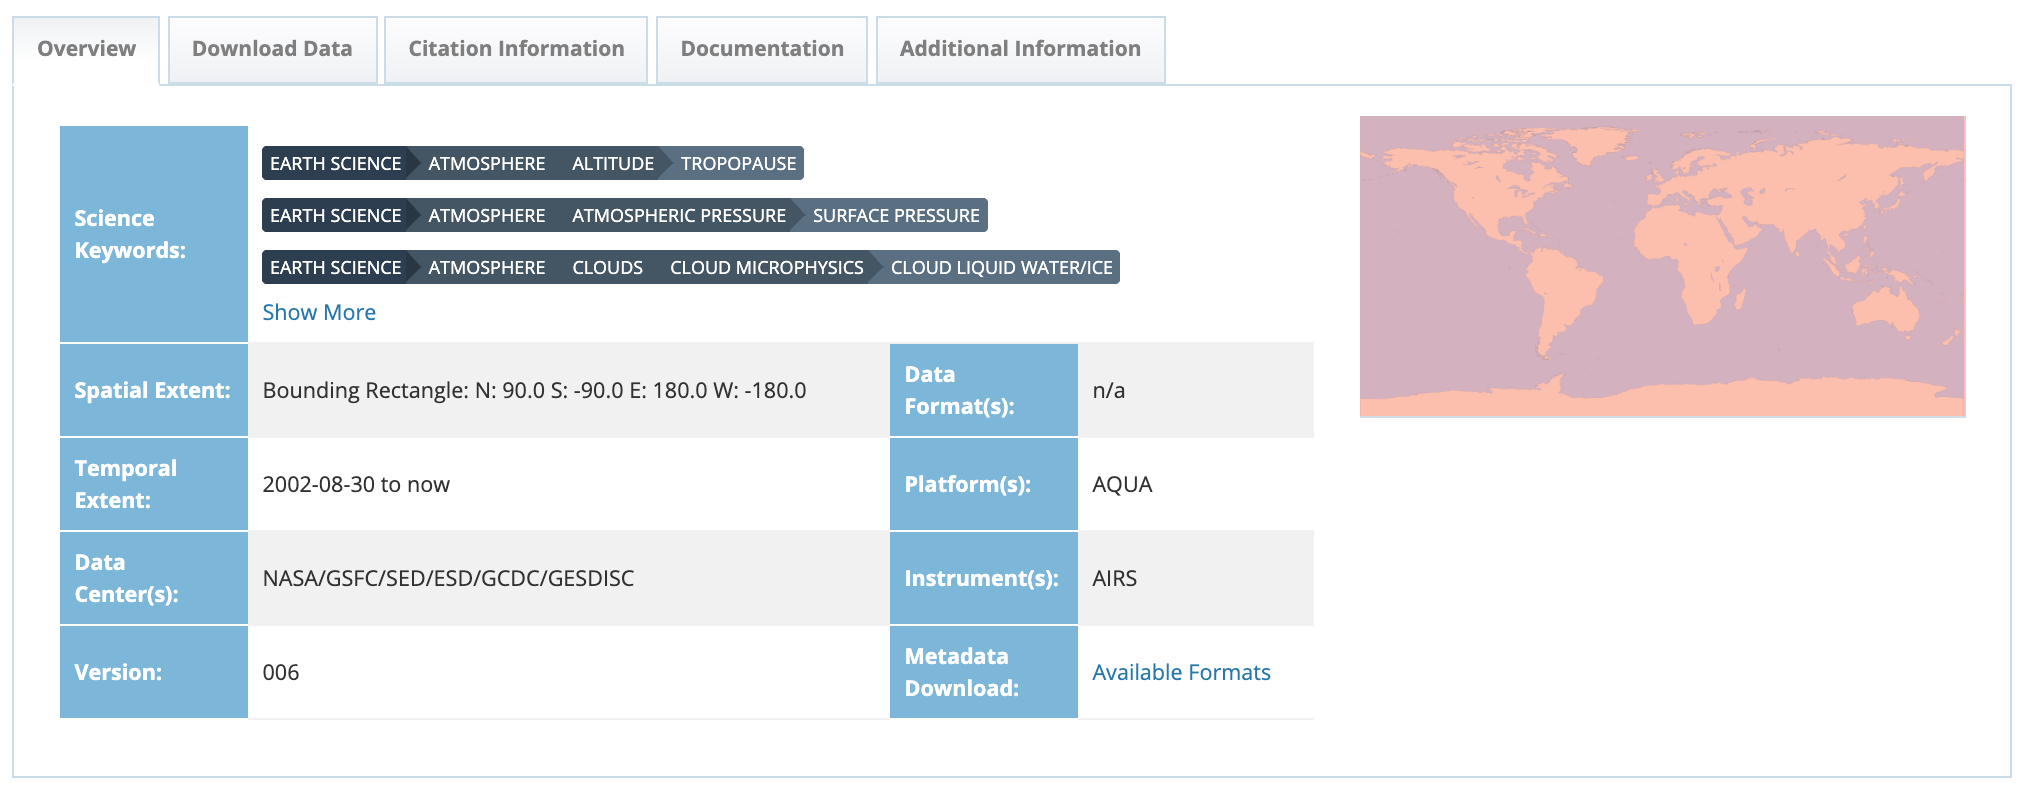
6. View an HTML rendering of your collection record on the 'preview panel':
7. Special NOTES when creating or editing a collection level record:
...
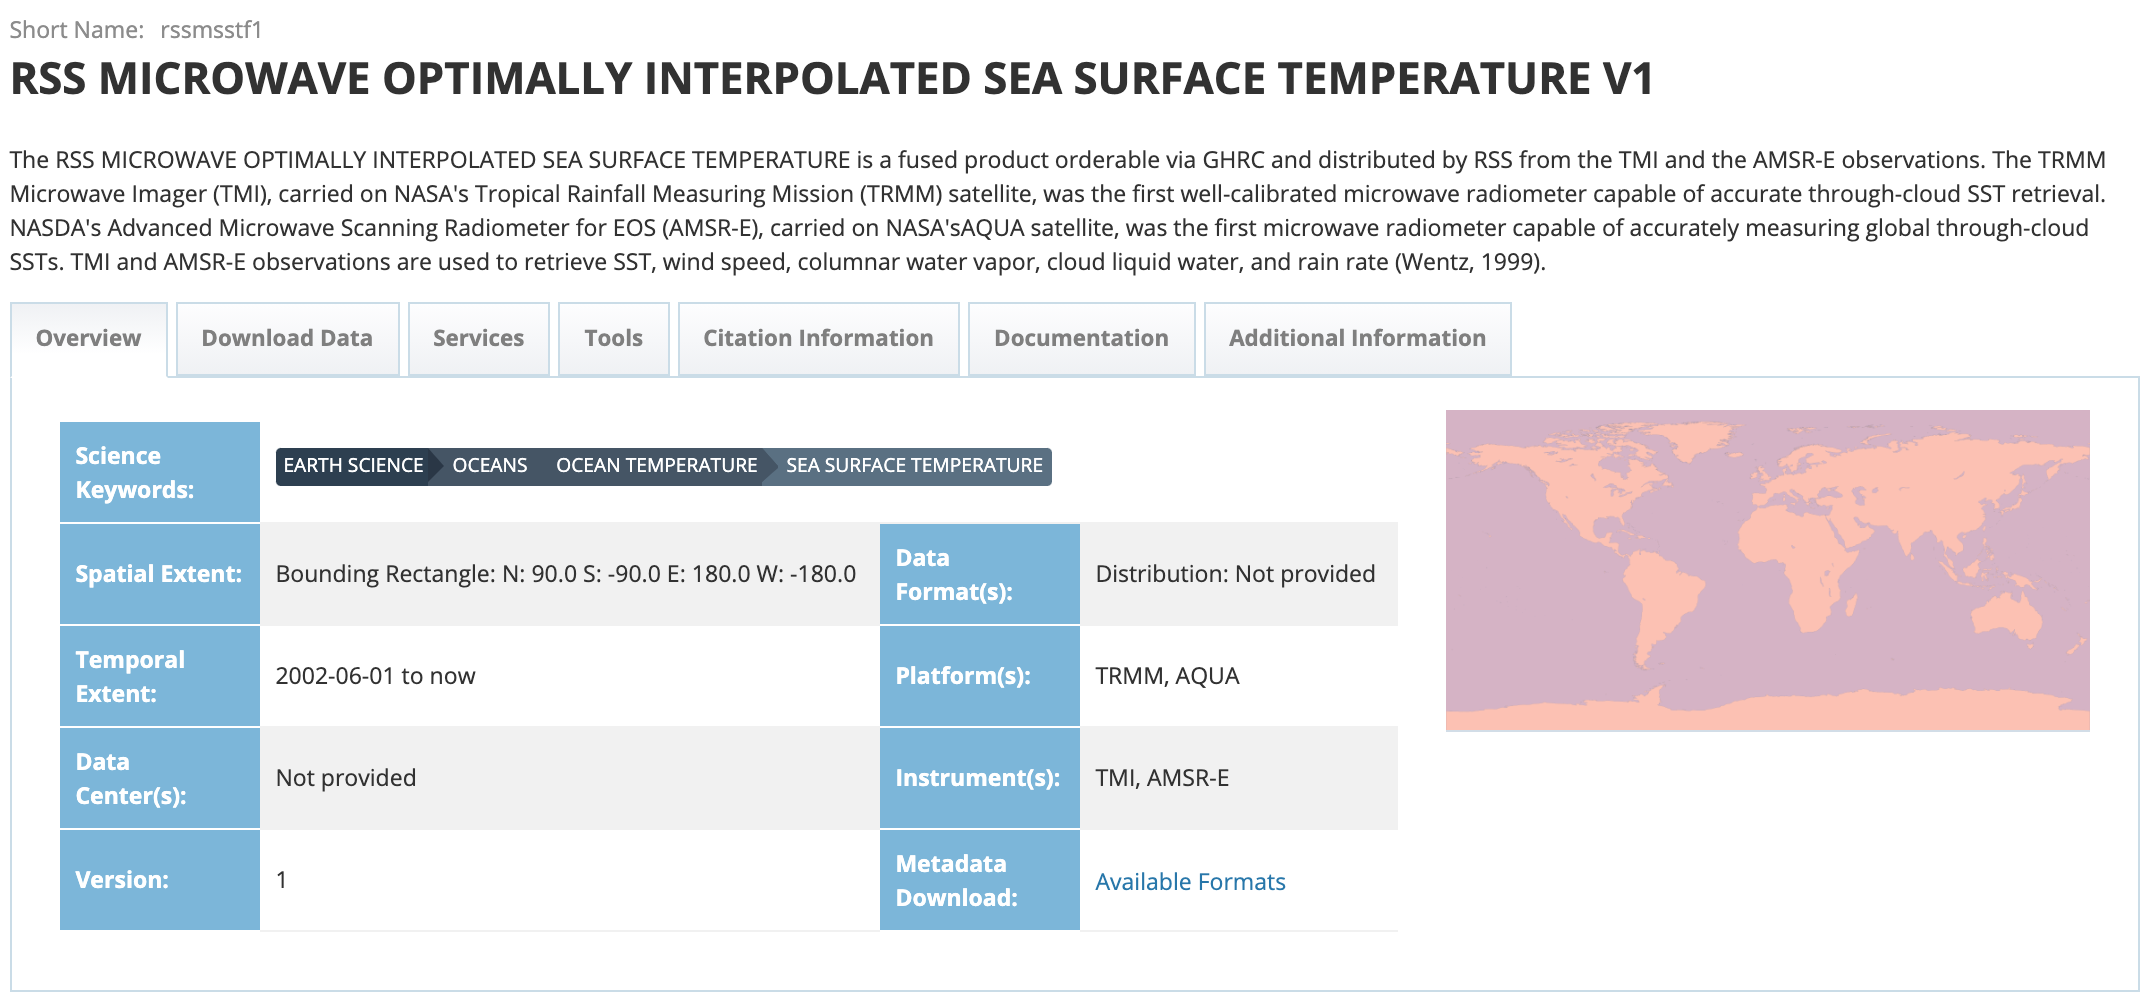
2. On the Overview tab of the collection information page, click on Metadata Download: 'Available Formats'.
3. You will see a pop-up window asking you to choose the format in which you would like to download the collection metadata.
4. Click on the format that you would like. Your browser and local machine will now prompt you through the download process.
...
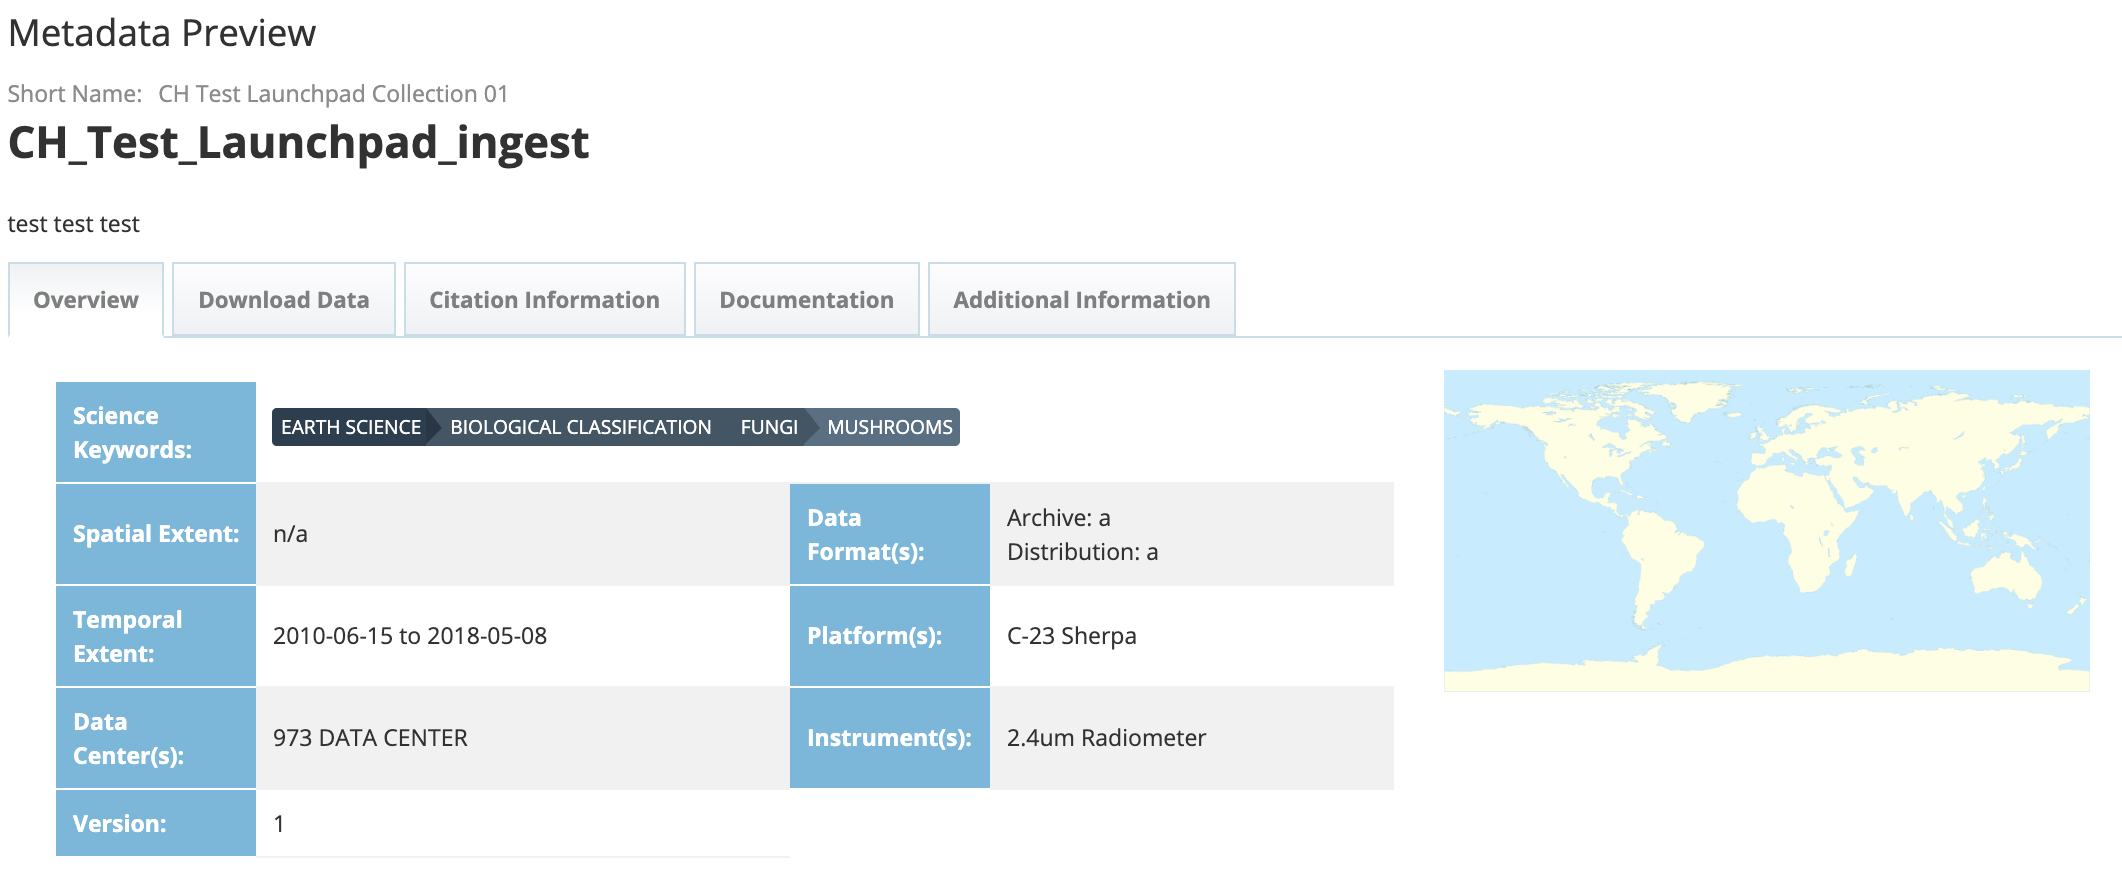
6. View an HTML rendering of your collection record template on the 'preview panel':
7. Special NOTES when creating or editing a collection level record template:
...
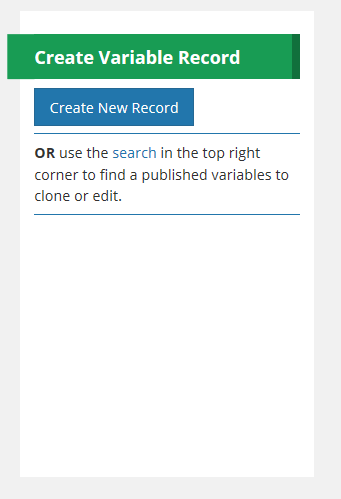
click on 'Create New Record'. A draft variable record will be created.
NOTE: Before a variable record can be published to the CMR, it must be associated with a published collection record. The collection association can be made before creating a new draft variable record by entering the collection Concept ID (if known) into the provided field OR the collection association can be made when completing the metadata forms (see below).
2. Begin filling in metadata fields for your draft variable record. Use the information icons (blue 'i') to get information about what fields mean and how to format their values.
...
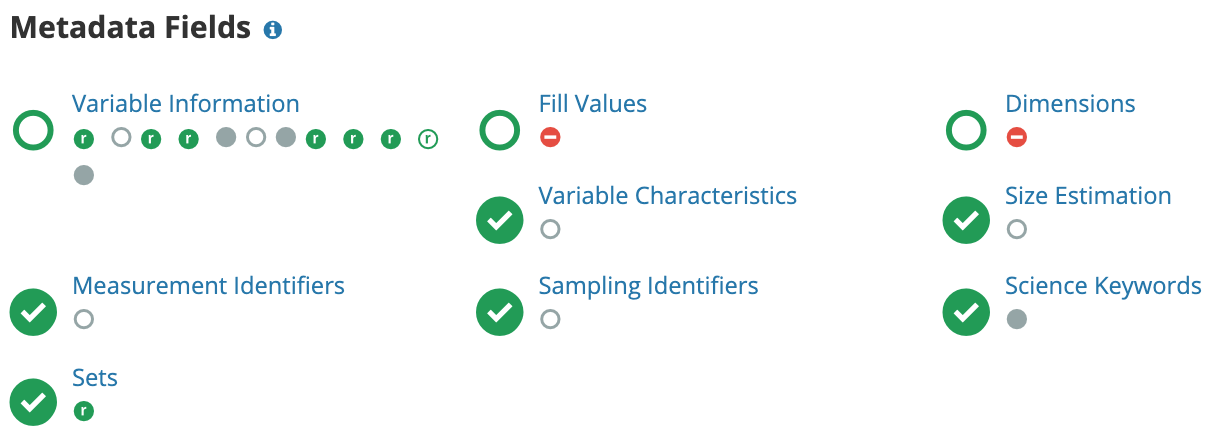
5. Follow progress of your draft record on the progress panel:
The icons on the progress panel have the following meanings:
...
7. When all Required fields are complete with no validation errors (red icon) showing on the progress panel, and the variable record has been associated to a collection, you are ready to Publish your record to the CMR. Click on the 'Publish Variable Draft' button above the Progress Panel on the draft record page:
...
NOTE: A prompt to enter a new Name and Long Name for the clone appears in the blue bar, and the progress panel indicates that the Name and Long Name have not yet been filled in.
4. On the progress panel, click on any section to begin editing the draft record (the clone). You must enter a new Name and Long Name for the clone. Use the progress panel and navigation buttons described above (Create a variable record in the CMR for my provider) to update the metadata in the draft record.
...
Associate a Variable with a Collection for my provider
- Find the variable record using the instructions above (Find and view variable records in the CMR), and click on the Name of the variable in the search results table to view the variable display page.
At the top of the variable display page, click on 'Manage Collection Associations'.
3. A variable can only 1. Before a variable record can be published to the CMR, it must be associated with a single published collection . To add a new collection association, click on the 'Add Collection Associations' button.
If a collection is already associated with this variable, it will be displayed in the table.
record. The collection association can be made before creating a new draft variable record by entering the collection Concept ID (if known) into the provided field
2. If the collection Concept ID is unknown, the collection association can be made by on the 'Collection Association' metadata form
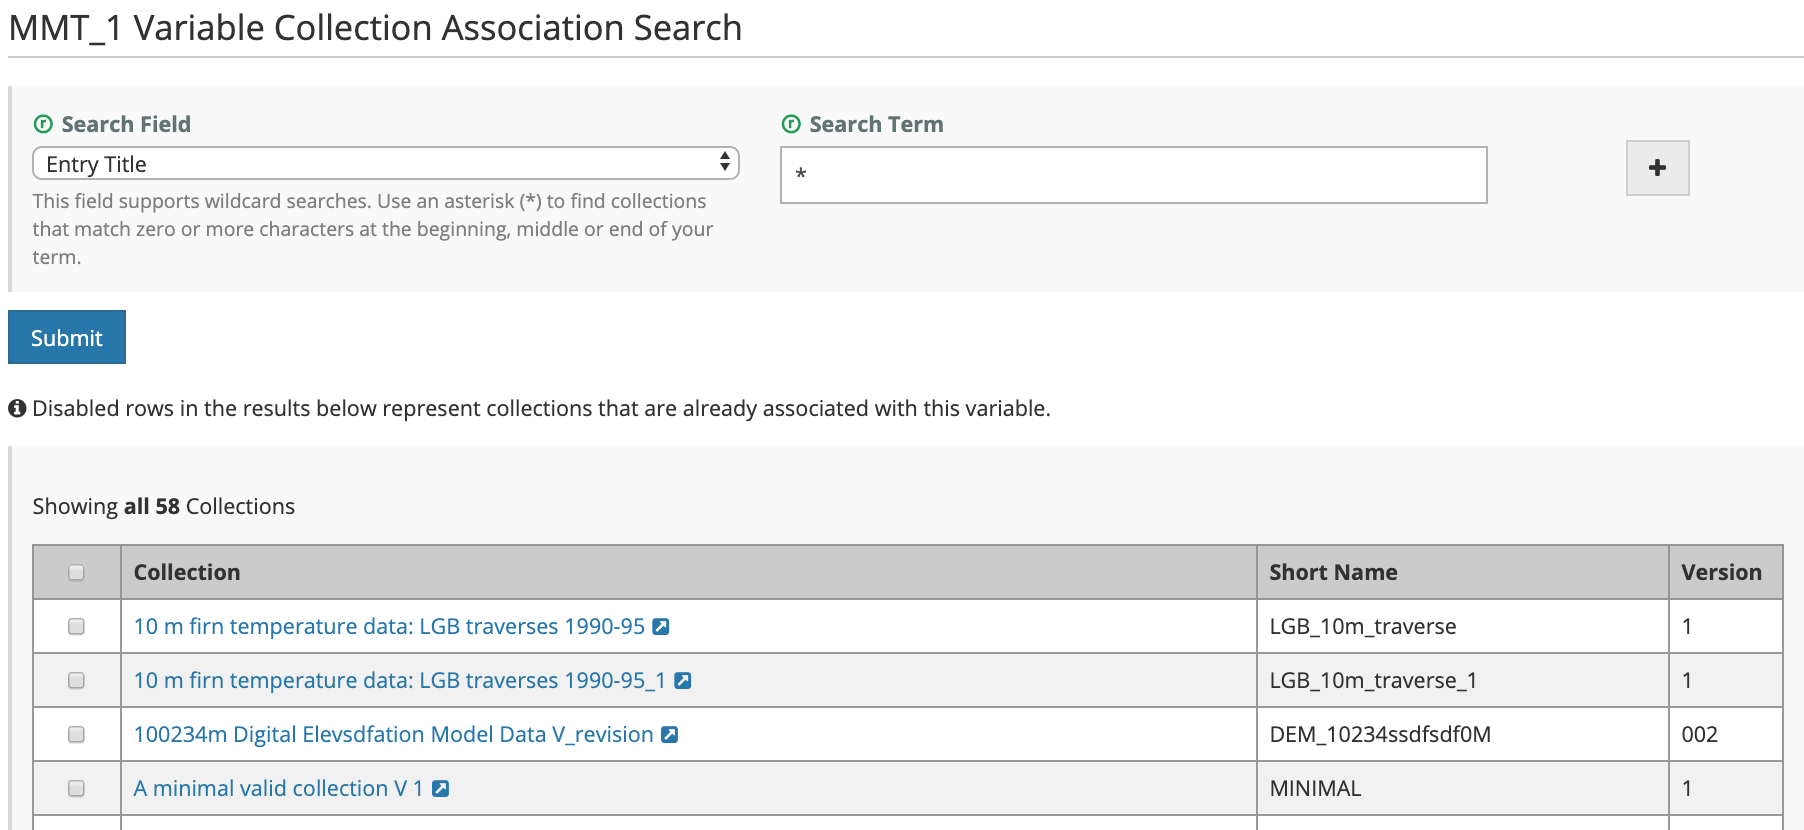
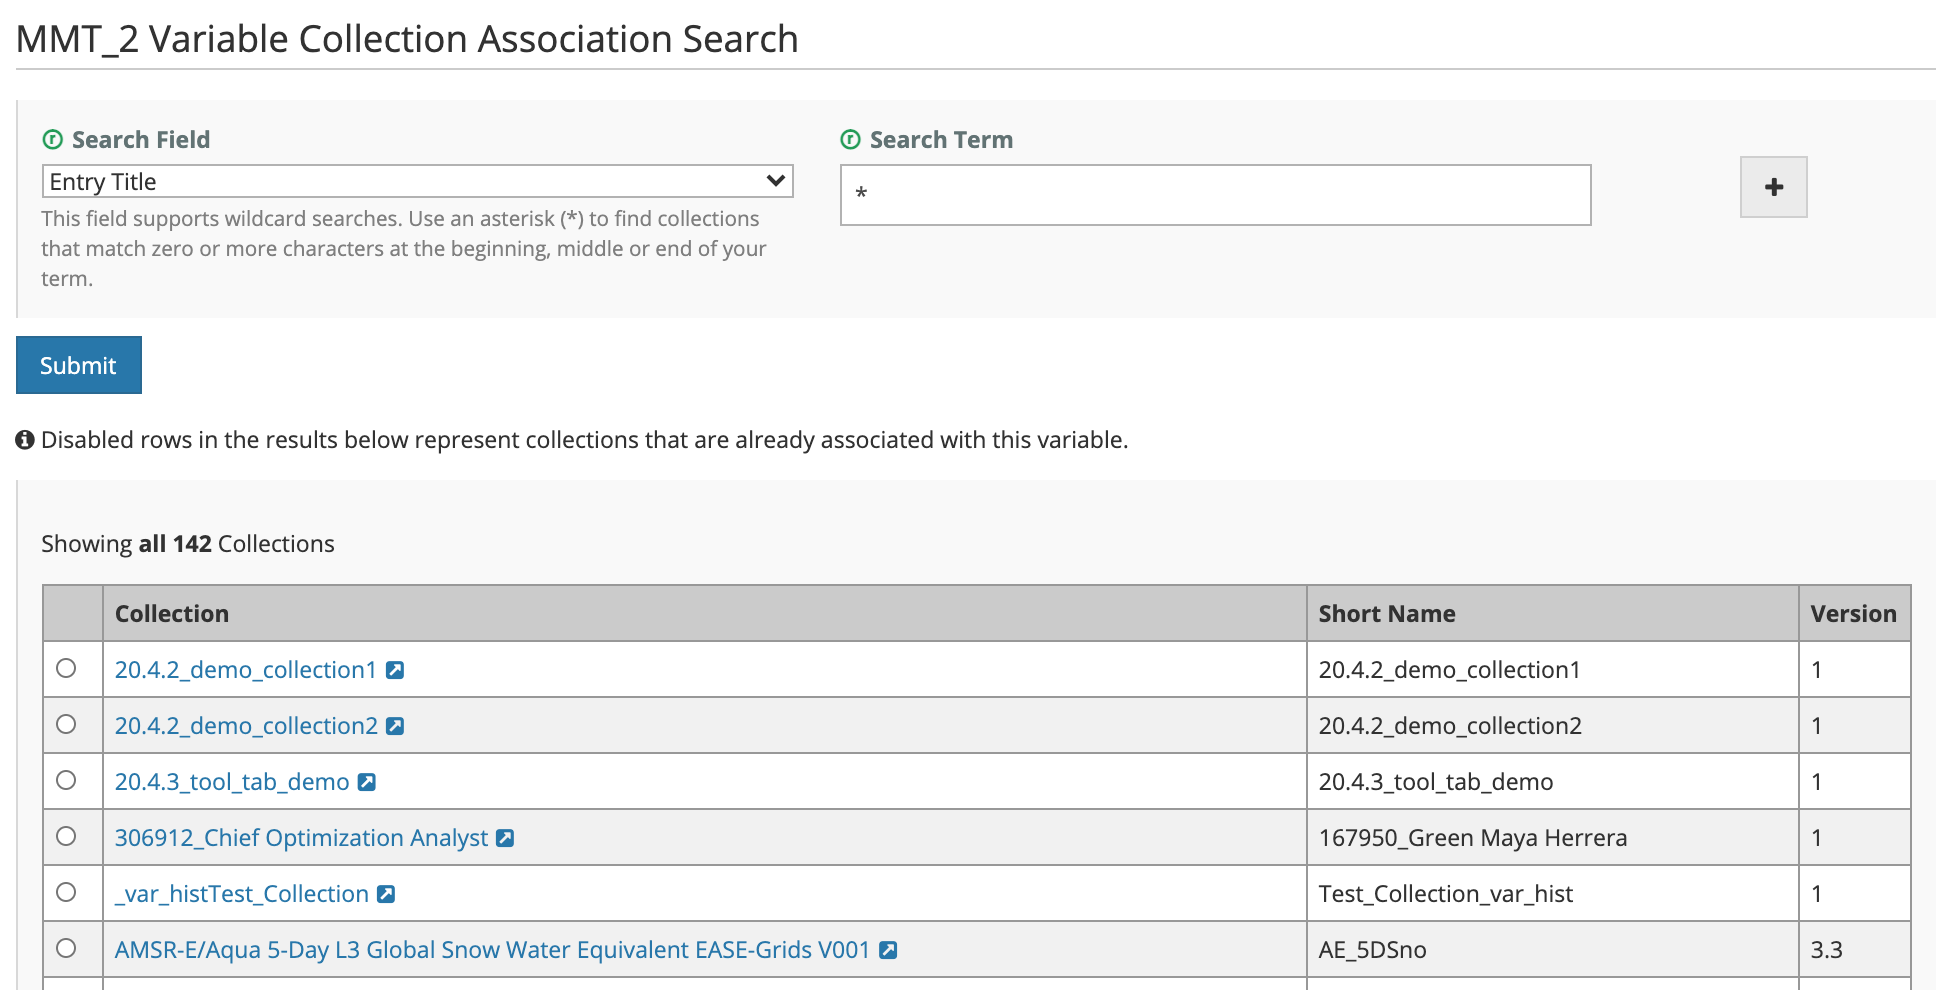
4. A Collection Association Search page will be displayed. Choose a Search Field from the pull-down selections, and enter a Search Term (value) for that Search Field. Note that wildcard searches are supported for some search fields. (The text below the search field will tell you if wildcard searches are supported for that field.)
A variable can only be associated with a single collection. If a collection is already associated with this variable, it will be displayed in the table.
6. A table of collections matching the collection search criteria will be displayed. Click on the checkbox beside the collection that you wish to associate with the variable, and click on Submit below the collection search results table. The selected collection will be associated with the variable.
7. A Collection Associations results page will be displayed, showing the collection now associated with the Variable.
NOTE: Because the collection / variable association operation is asynchronous, the results page may be displayed before all association has completed. You may need to click on the 'refresh the page' link to see the final results of the collection association.
...
Update a Variable
...
- Collection Association for my provider
- Find the variable record using the instructions above (Find and view variable records in the CMR), and click on the Name of the variable in the search results table to view the variable display page.
At the top of the variable display page, click on 'Manage Collection Associations;
On the Collection Associations page, the collection already associated with this variable will be displayed:
- Click the checkbox beside the collection whose association to this variable you wish to delete.
- Click on 'Delete Selected Associations'. A Collection Association
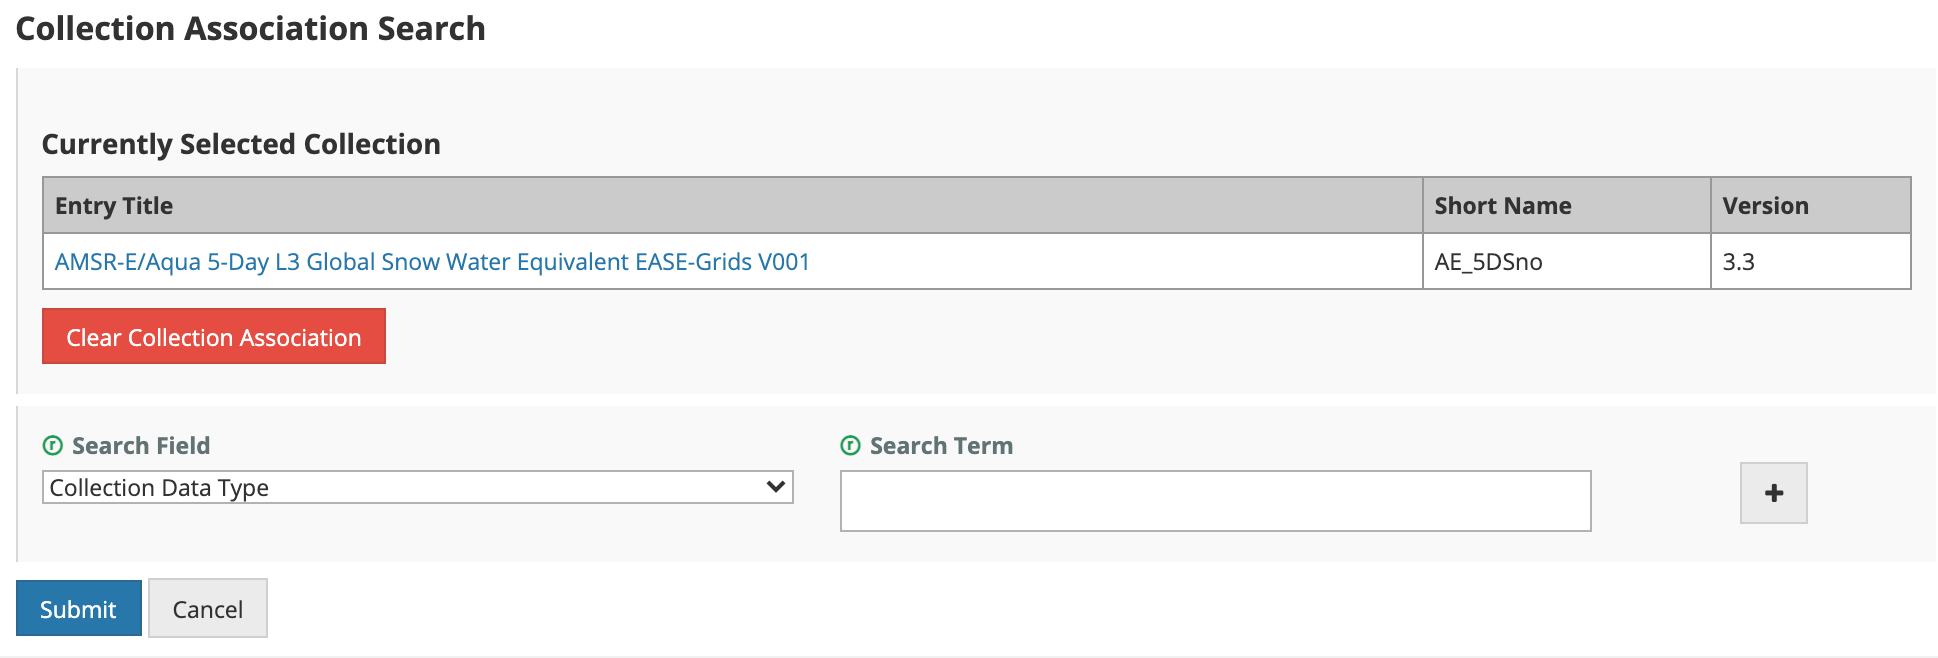
- Click on 'Update Collection Association'. A Collection Association Search page will be displayed. Choose a Search Field from the pull-down selections, and enter a Search Term (value) for that Search Field. Note that wildcard searches are supported for some search fields. (The text below the search field will tell you if wildcard searches are supported for that field.)
5. A table of collections matching the collection search criteria will be displayed. Click on the checkbox beside the collection that you wish to associate with the variable, and click on Submit below the collection search results table. The selected collection will be associated with the variable.
6. A Collection Associations results page will be displayed, showing
...
the collection association has been updated.
NOTE: Because the collection / variable disassociation association operation is asynchronous, the results page may be displayed before all disassociations have association has completed. You may need to click on the 'refresh the page' link to see the final results of the collection disassociationassociation.
Manage Service Metadata for my provider
...
NOTE: Because the collection / tool association operation is asynchronous, the results page may be displayed before all associations have completed. You may need to click on the 'refresh the page' link to see the final results of the collection association.
Disassociate a
...
Tool with one or more Collections for my provider
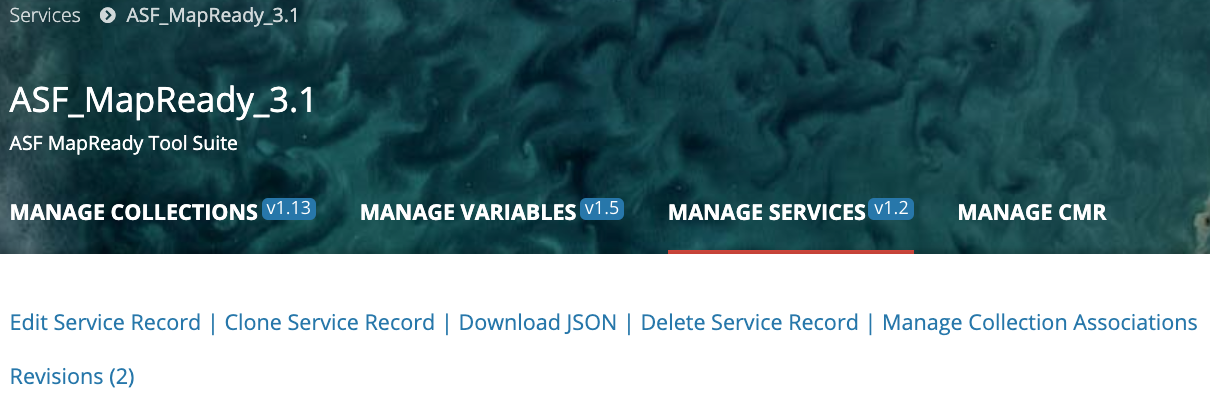
- Find the service the tool record using the instructions above (Find and view service tool records in the CMR), and click on the Name of the service the tool in the search results table to view the service the tool display page.
At the top of the service the tool display page, click on 'Manage Collection Associations';
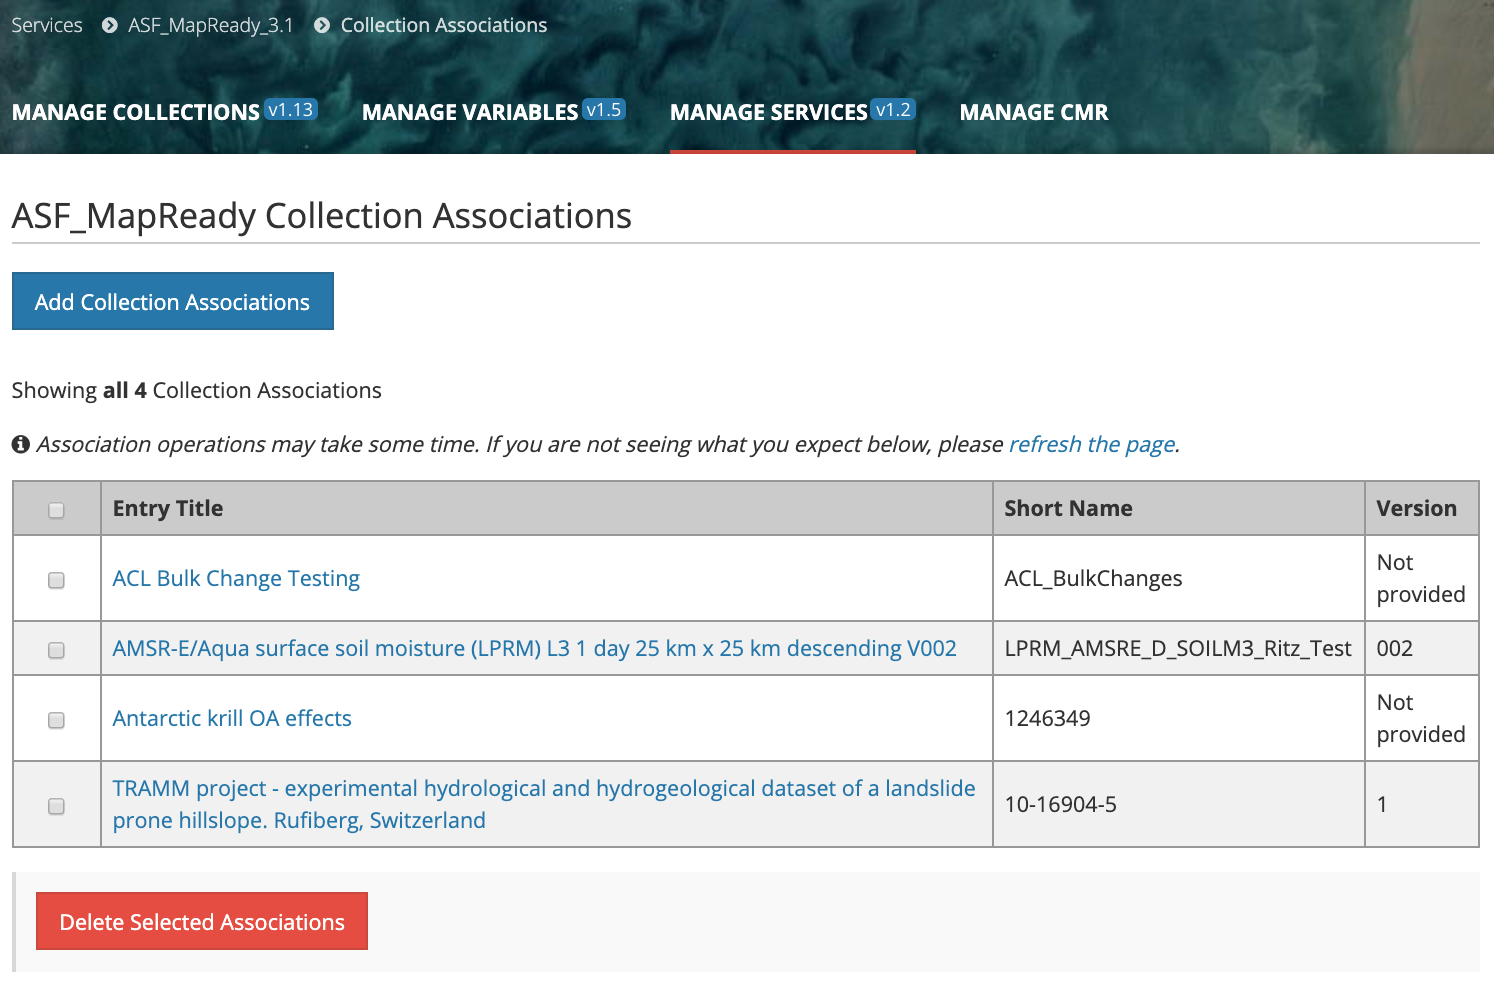
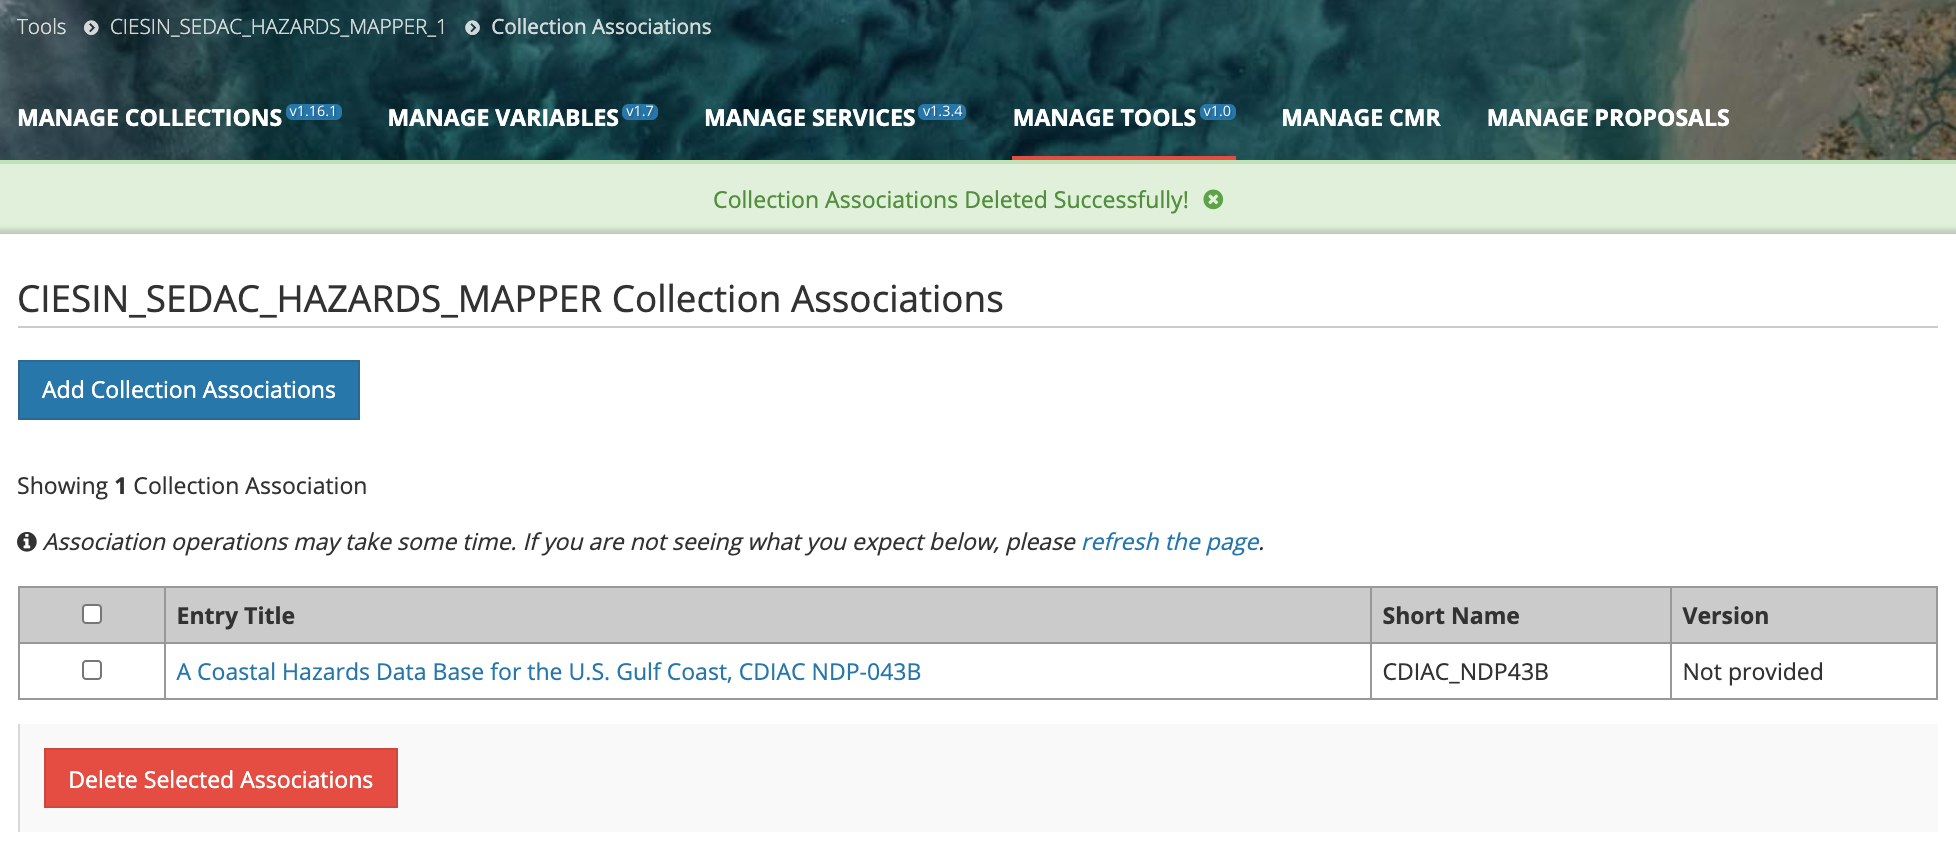
On the Collection Associations page, all collections already associated with this service tool will be displayed in a table:
- Click the checkbox beside each collection whose association to this service tool you wish to delete (or click the checkbox at the top of the table to select all collections in the table).
- Click on 'Delete Selected Associations'.
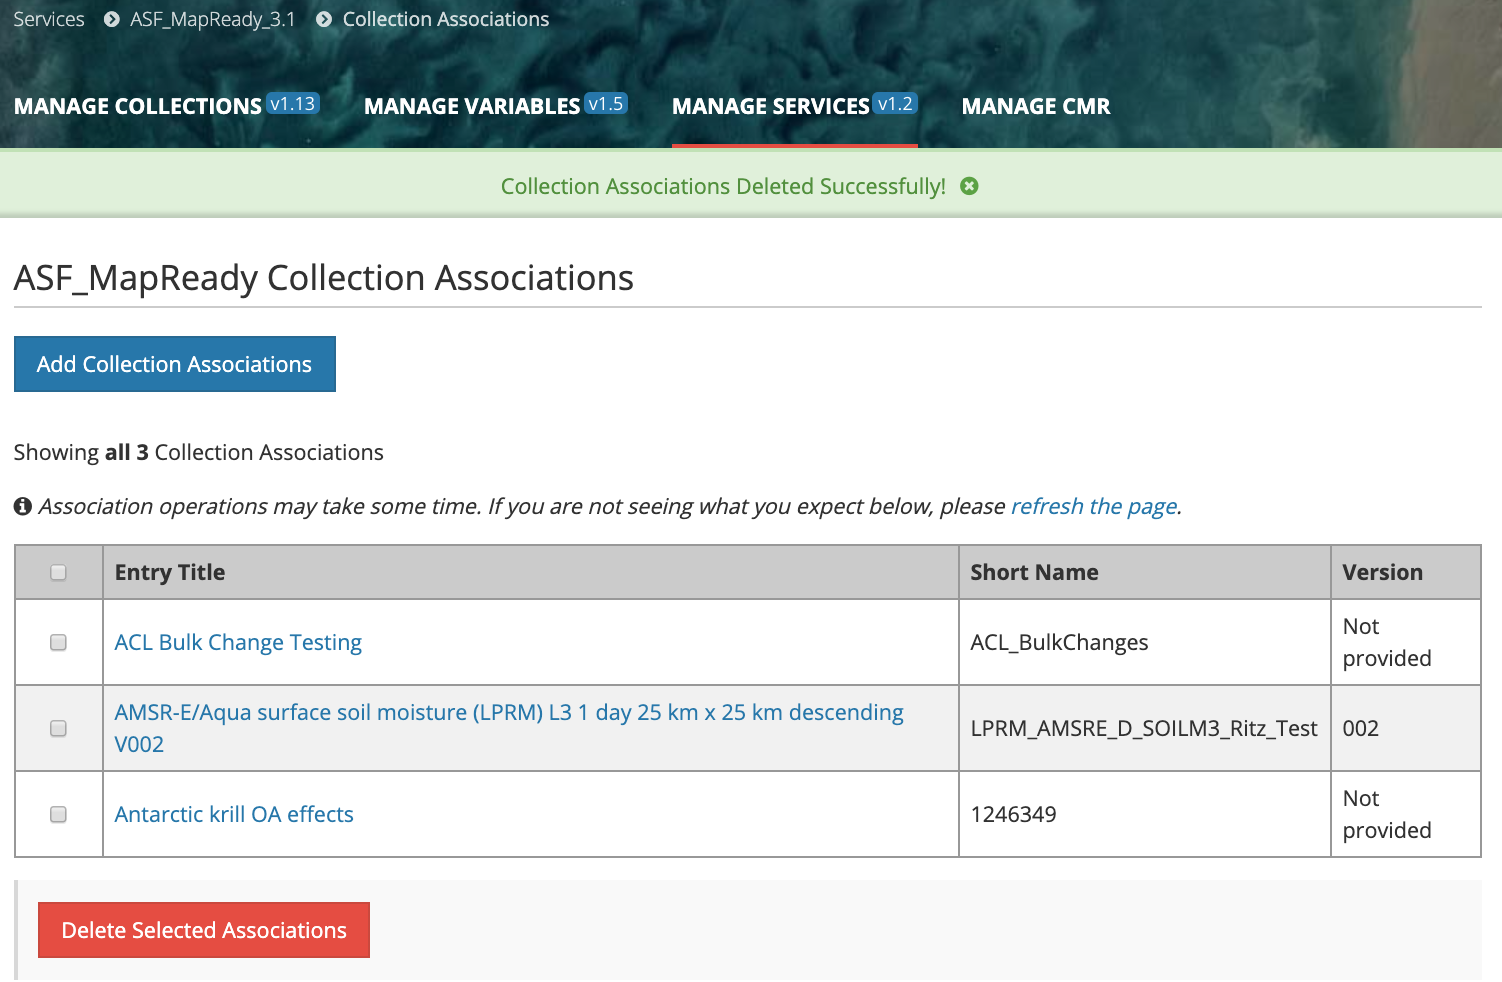
- A Collection Association results page will be displayed, showing all collections still associated with the servicetool.
NOTE: Because the collection / service tool disassociation operation is asynchronous, the results page may be displayed before all disassociations have completed. You may need to click on the 'refresh the page' link to see the final results of the collection disassociation.
...
2. A table of groups that you are permitted to see will be displayed. You may filter that table by Provider
Current / Available Providers and/or by User (group member)
Click on 'Apply Filters' to filter the table.
...
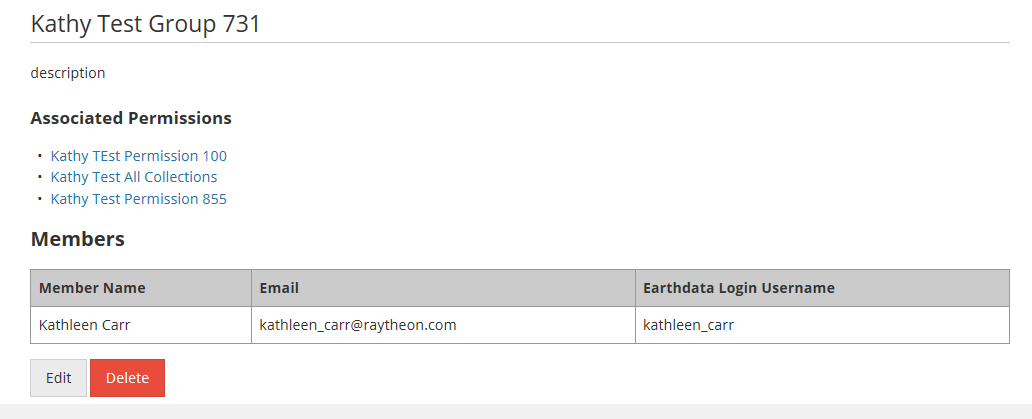
4. The Group information page will be displayed. The page shows the group name, group description, all Collection Permissions associated with the group (see next section of this User's Guide for a discussion of Collection Permissions), a link to the Provider Object Permissions associated with the group, and a table of group members.
5. You may Edit or Delete the group from the group display page using the Edit or Delete buttons at the bottom of the page,
...
- On the 'Manage CMR' dashboard, under 'Permissions & Groups', click on 'Groups'
2. A A table of groups that you are permitted to see will be displayed. You may filter that table by Provider
Current / Available Providers and/or by User (group member)
Click on 'Apply Filters' to filter the table.
3. From the resulting table of groups, select the group you wish to update by clicking on the 'Edit' Action in the row with the group name, OR you may click on the Group Name itself and use the Edit button on the group display page described in the previous section.
...
- On the 'Manage CMR' dashboard, under 'Permissions & Groups', click on 'Groups'
2. A A table of groups that you are permitted to see will be displayed. You may filter that table by Provider
Current / Available Providers and/or by User (group member)
Click on 'Apply Filters' to filter the table.
...

